
SBN · Installation and planning
The base beneath a travertine patio: layers and drainage
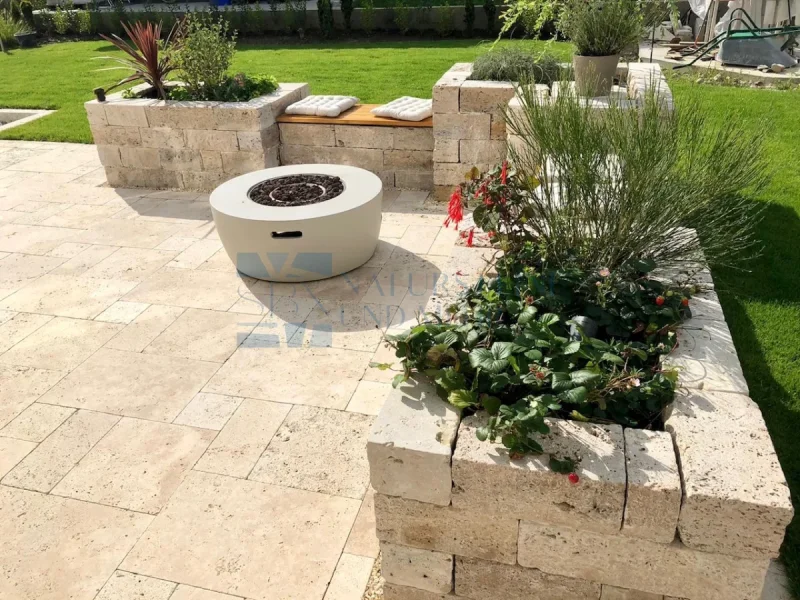
A lasting patio starts below the slabs. This guide concerns pedestrian paving on natural ground, not a universal design for balconies, roofs, concrete decks or vehicle areas.
Levels and a route for water
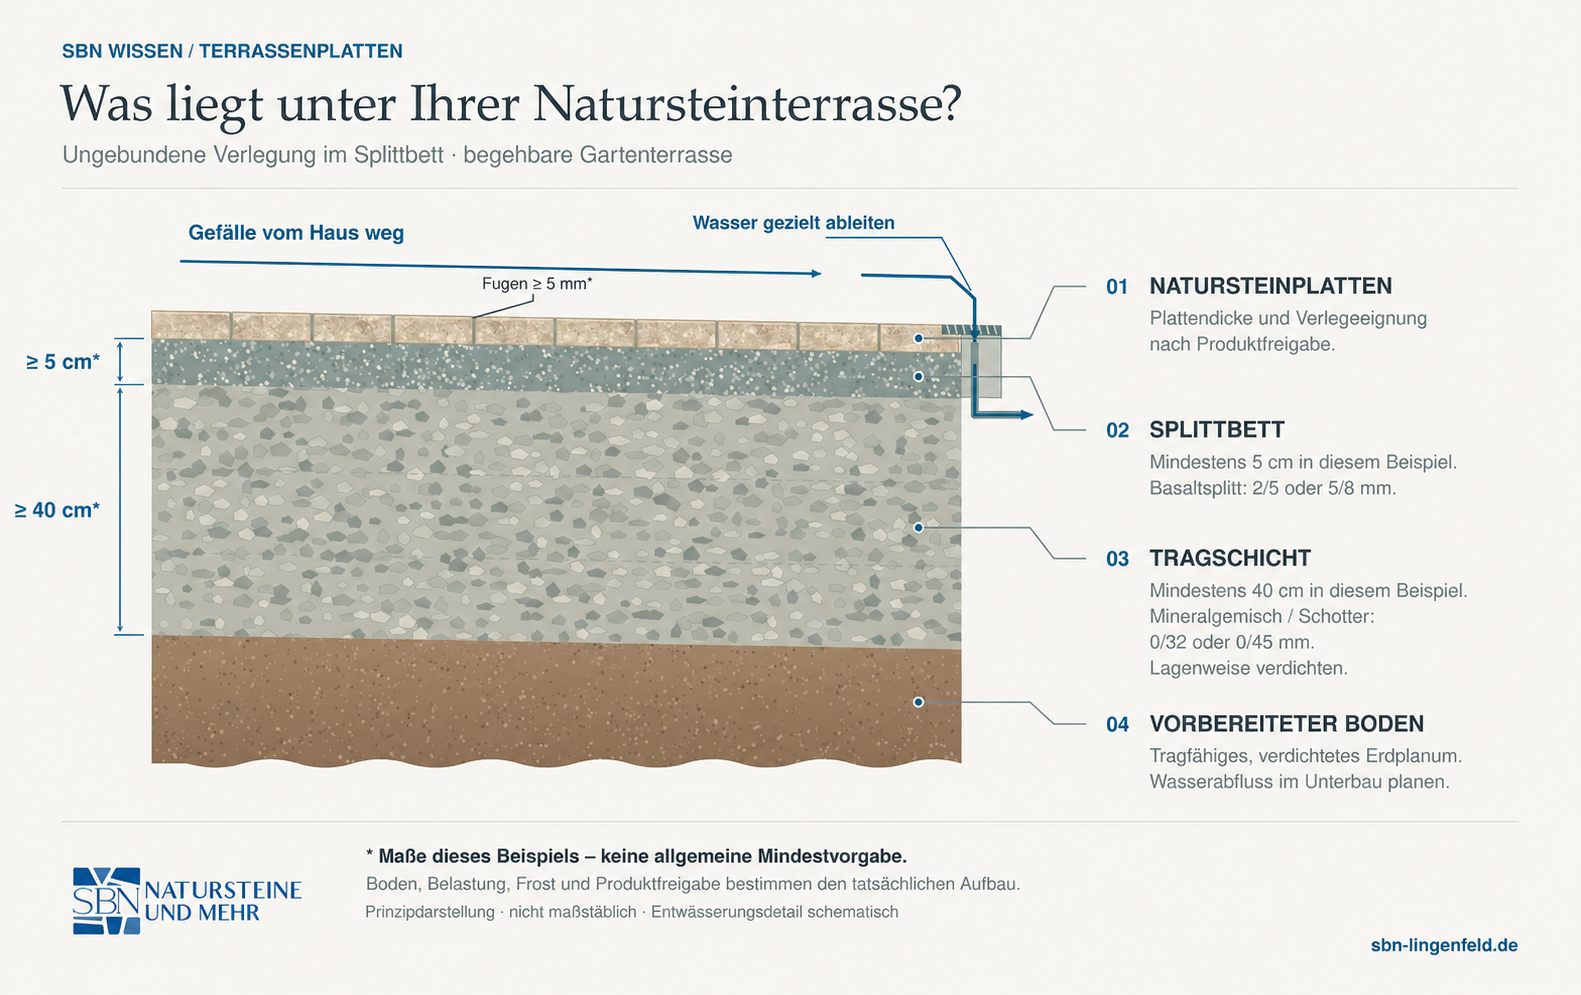
Survey thresholds, steps and surrounding ground, then identify where water can drain safely. Soil, frost exposure and loads determine the build-up. Permeable material without an effective outlet does not solve standing-water problems.
Excavation and the load-bearing layer
Remove unsuitable layers and prepare the ground to the design. Place and compact the base in appropriate layers. The original example refers to 0/32–0/45 aggregate and a depth of at least 40 cm; this is an example-specific value, not a universal minimum for every garden.
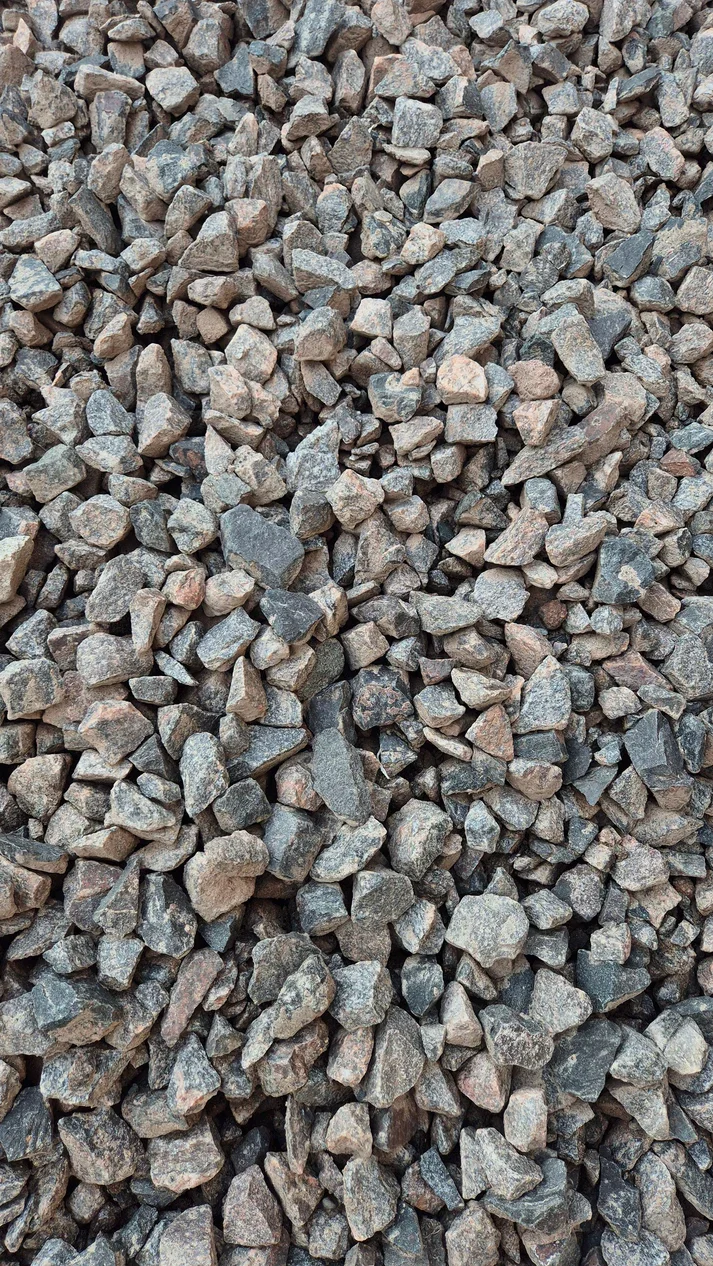
Unbound aggregate bedding
An unbound construction needs suitable angular aggregate. The example uses basalt chippings graded 2/5 or 5/8 mm and a bed at least 5 cm deep. The actual grading, thickness and stability must be confirmed for the project. Identical grading numbers do not make different materials equivalent.
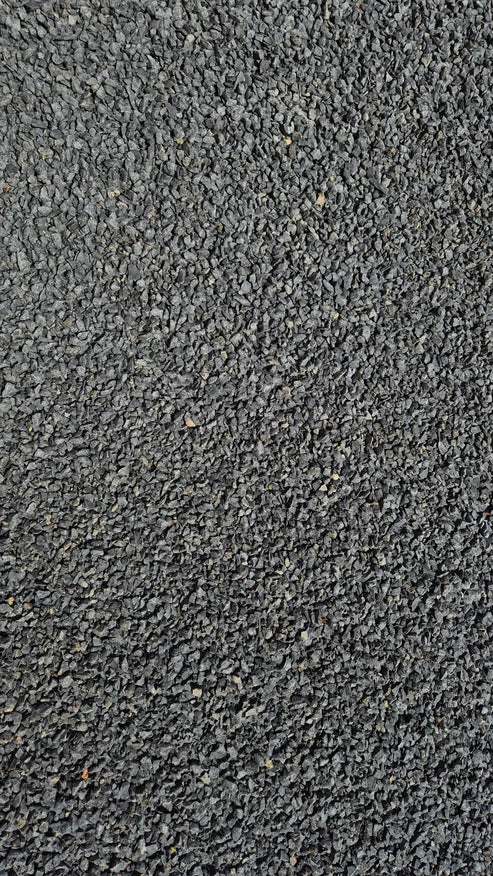
A drainage-mortar system
In a bound construction, drainage mortar, a contact coat on the slab underside and the jointing form one system. Wet-on-wet installation follows the manufacturer’s instructions. Cement alone or an arbitrary adhesive is not automatically a substitute.
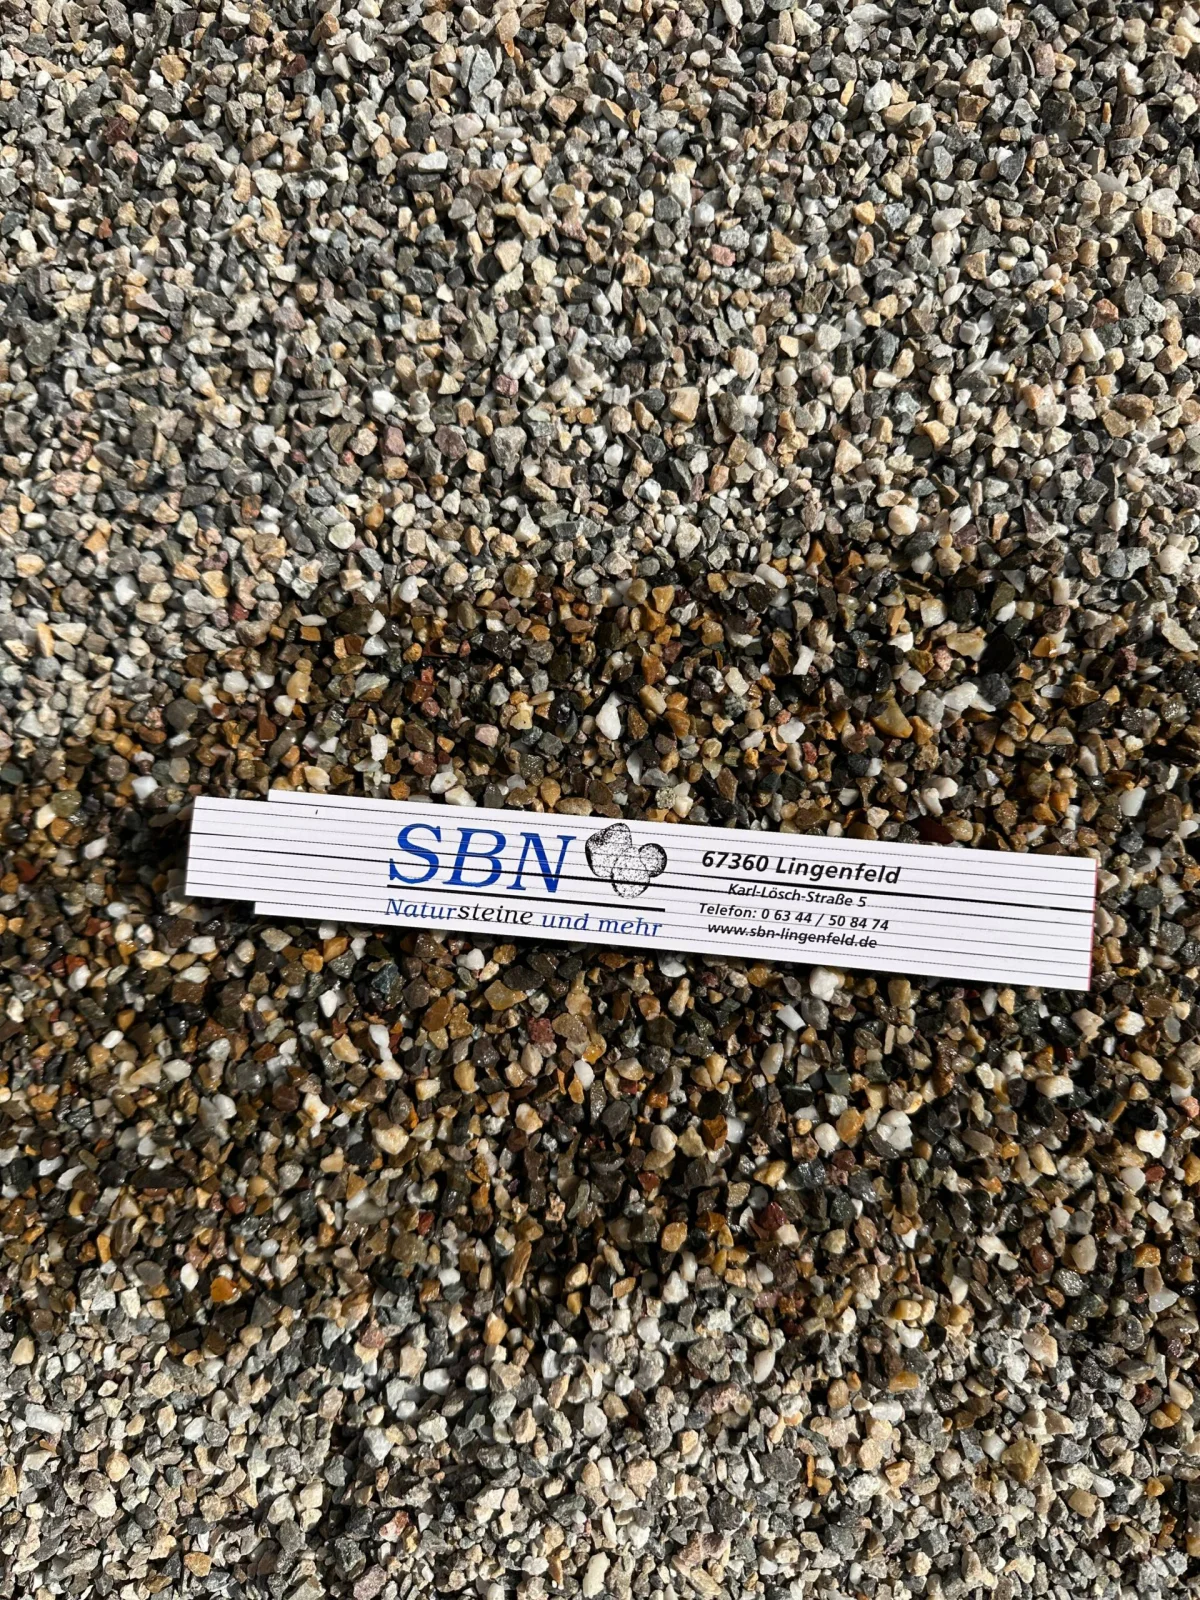
Edges and joints
Edge restraint must stabilise the paving while allowing the designed drainage. The example refers to joints of at least 5 mm; the correct width depends on slab tolerances and the system. Plan perimeter, connecting and movement joints as required.
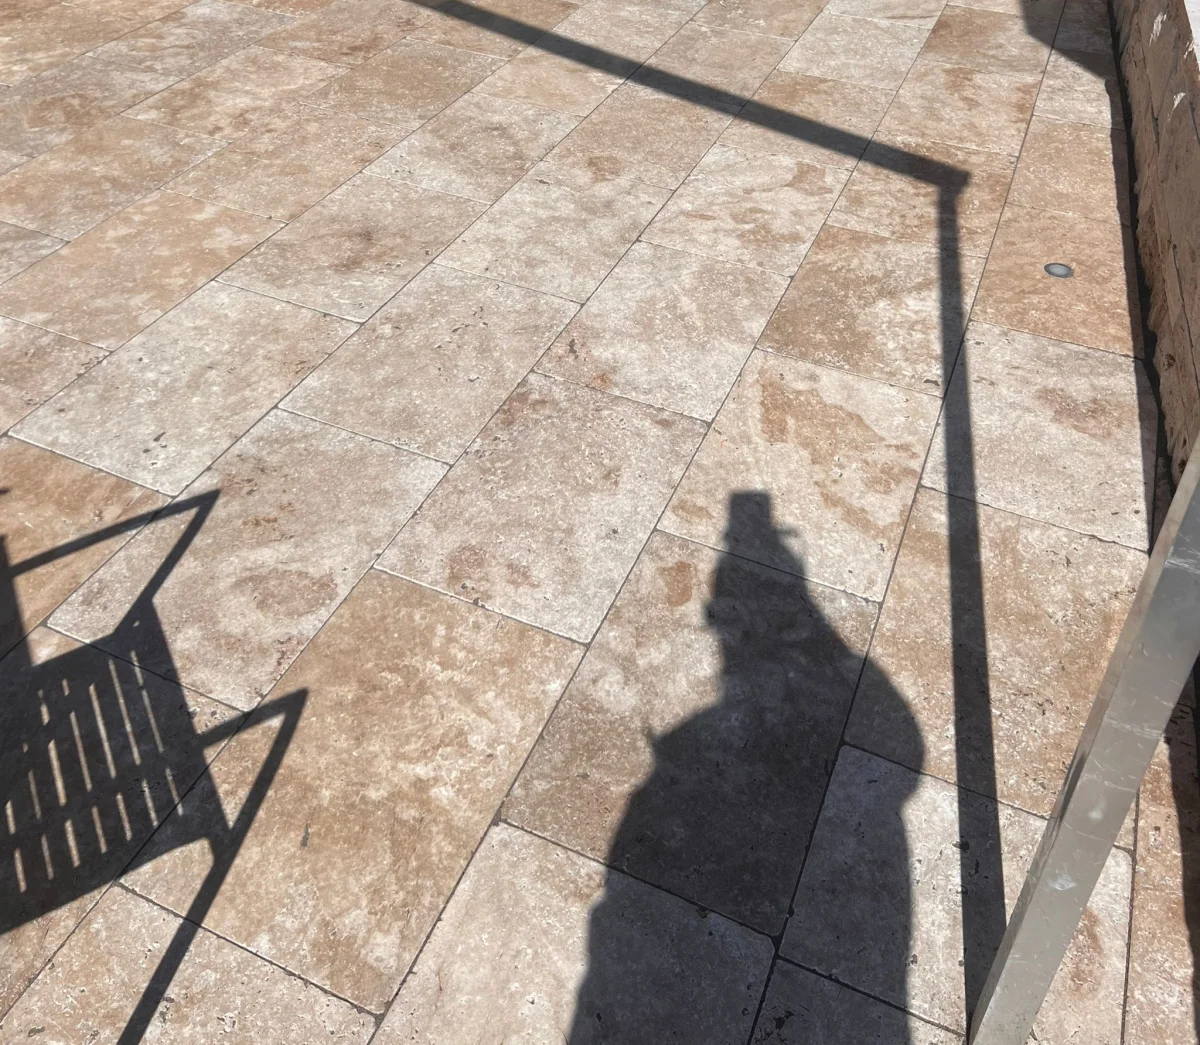
Laying and final cleaning
Do not use a plate compactor on the slabs without confirmation that the method is suitable. Check levels and joints throughout and respect curing times. Remove residues using a product compatible with travertine; acidic cleaners may damage the stone.
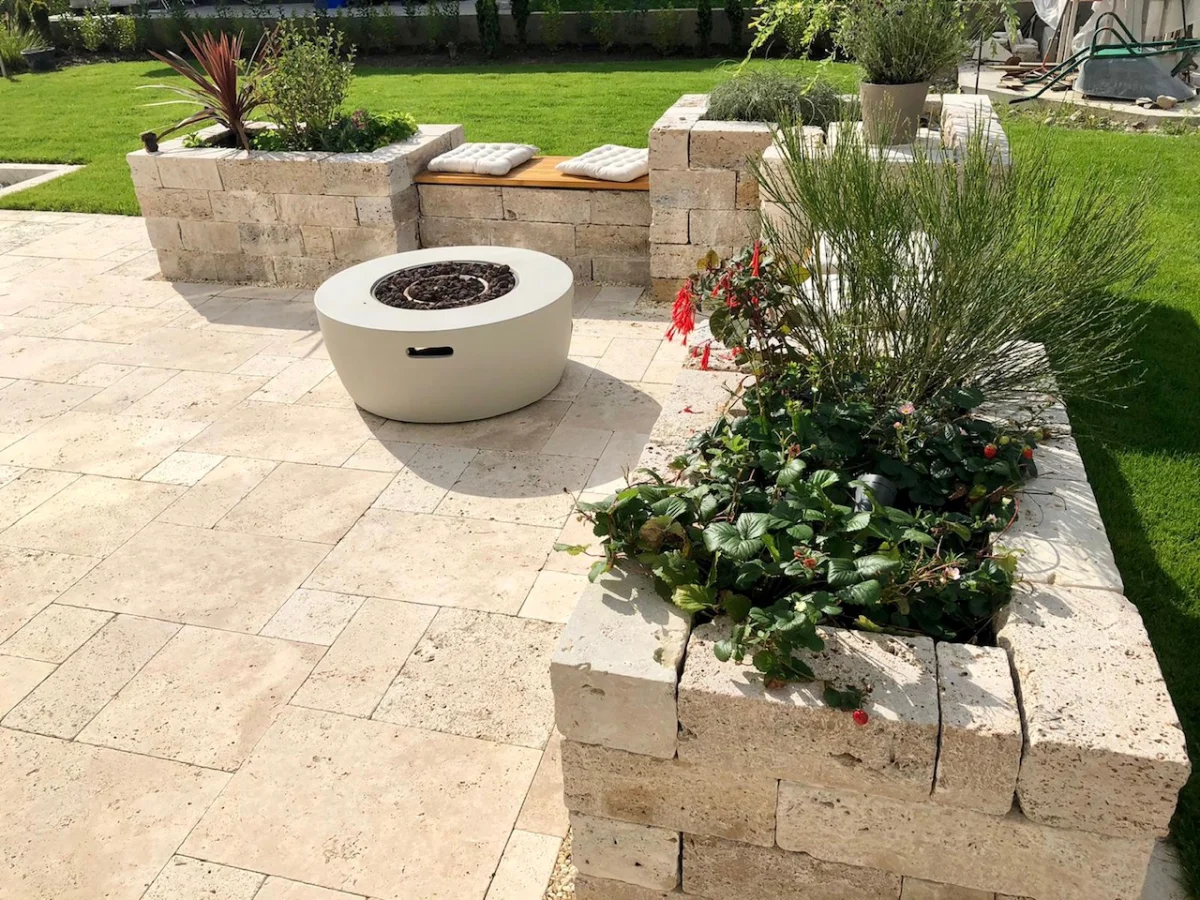
Choose the materials as a system
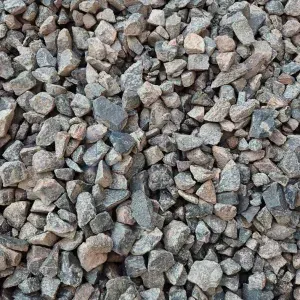
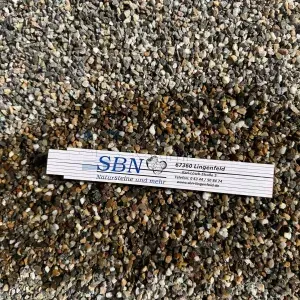
Natural aggregate 0–32, basalt 2–5 and moraine aggregate 2–5 are not interchangeable merely because of their grading labels. The illustration and video help explain the process but do not replace a site design. Further system information is available from Schlüter on aggregate-bed installation, the Sopro 2026 planning guide, chapter 6.6, and Lithofin’s stone-care instructions. Follow the current guidance for the selected system.
Your next step
- Measure levels and establish the drainage route.
- Have the construction designed for the ground and loads.
- Coordinate bedding, contact layers, joints and maintenance.
Tell us the dimensions and intended use. For delivery, include the country, postcode and access details.
Discuss your project with us →Products for this project


Related collections
Compare products and formats for your project.