SBN · Installation and planning
Laying travertine wall stones: a step-by-step 3D guide
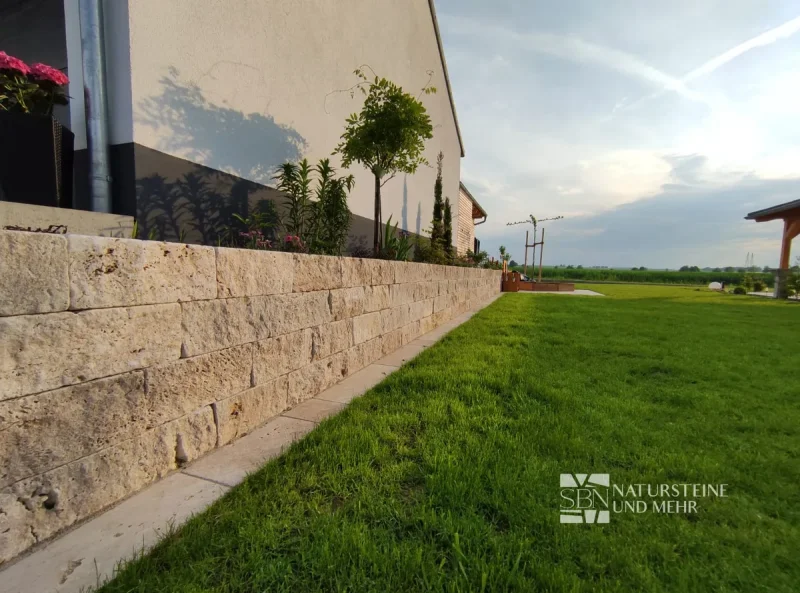
Explore the construction from the base to the finished wall, including the first course, bearing faces and staggered vertical joints.
Prepare the base
A low border, a freestanding wall and a retaining wall have different requirements. Design foundations, frost protection and drainage for the soil, height, load and location; there is no universal foundation depth. Retaining and loaded structures require appropriate professional design.
First course and bonding
Set the first course in a suitable levelling or mortar bed. Check height, level and alignment using a spirit level and string line, and allow adequate stability before continuing. Classic has split, tumbled visible faces and sawn contact faces. Prepare those faces and use a mortar or adhesive suitable for travertine, outdoor exposure and the actual construction. Coverage, thickness, temperature and curing follow the manufacturer’s technical sheet. The animation’s thin recessed contact layer does not prescribe an adhesive quantity or permit spot bonding.
Stagger the courses
Offset vertical joints in neighbouring courses and plan corners, ends and cuts early. Check height and alignment throughout. Natural pores, relief and beige or cream variations belong to the stone; keep visible faces clean. A dry-stone appearance is not permission to build without bonding or structural planning.
Use the 3D example
Rotate, zoom, pause or open the exploded view to inspect five stages. The Classic surface uses original SBN photos; the model is a dimensional illustration, not a scan of individual stones. Select the correct product’s finish and formats, allow for cuts, and confirm foundations, drainage and the intended laying system before construction.
Your next step
Tell us the dimensions and intended use. For delivery, include the country, postcode and access details.
Discuss your project with us →Products for this project